
Er11 collet chuck setup for high speed desktop cnc Best Practices and Expert Advice
Posted by RMT on Oct 18th 2026
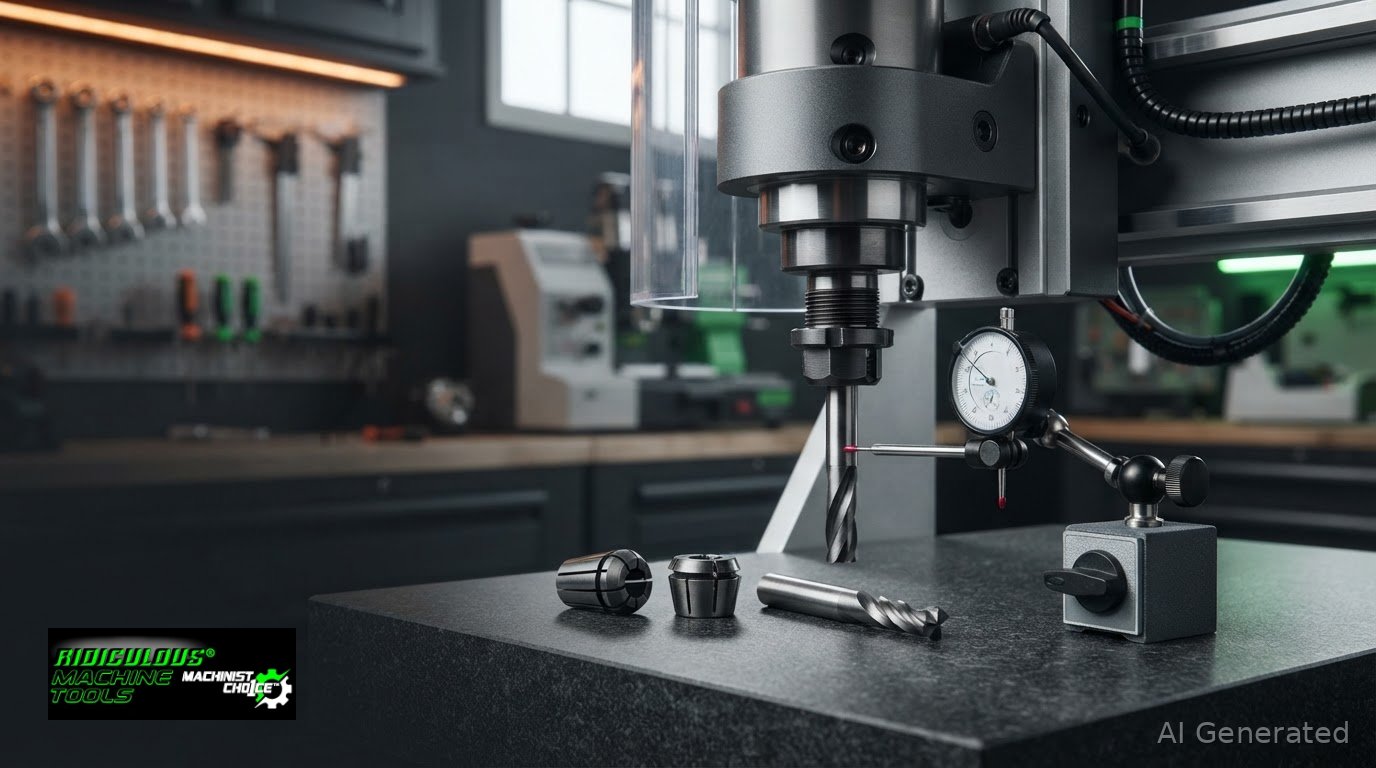
High-speed performance depends on the complete spindle-to-tool assembly, not the ER11 label alone. To set up an ER11 collet chuck for desktop CNC work, confirm that each interface fits, assemble clean components correctly, and observe the lowest applicable operating limit for the machine and tooling.
Key Takeaways
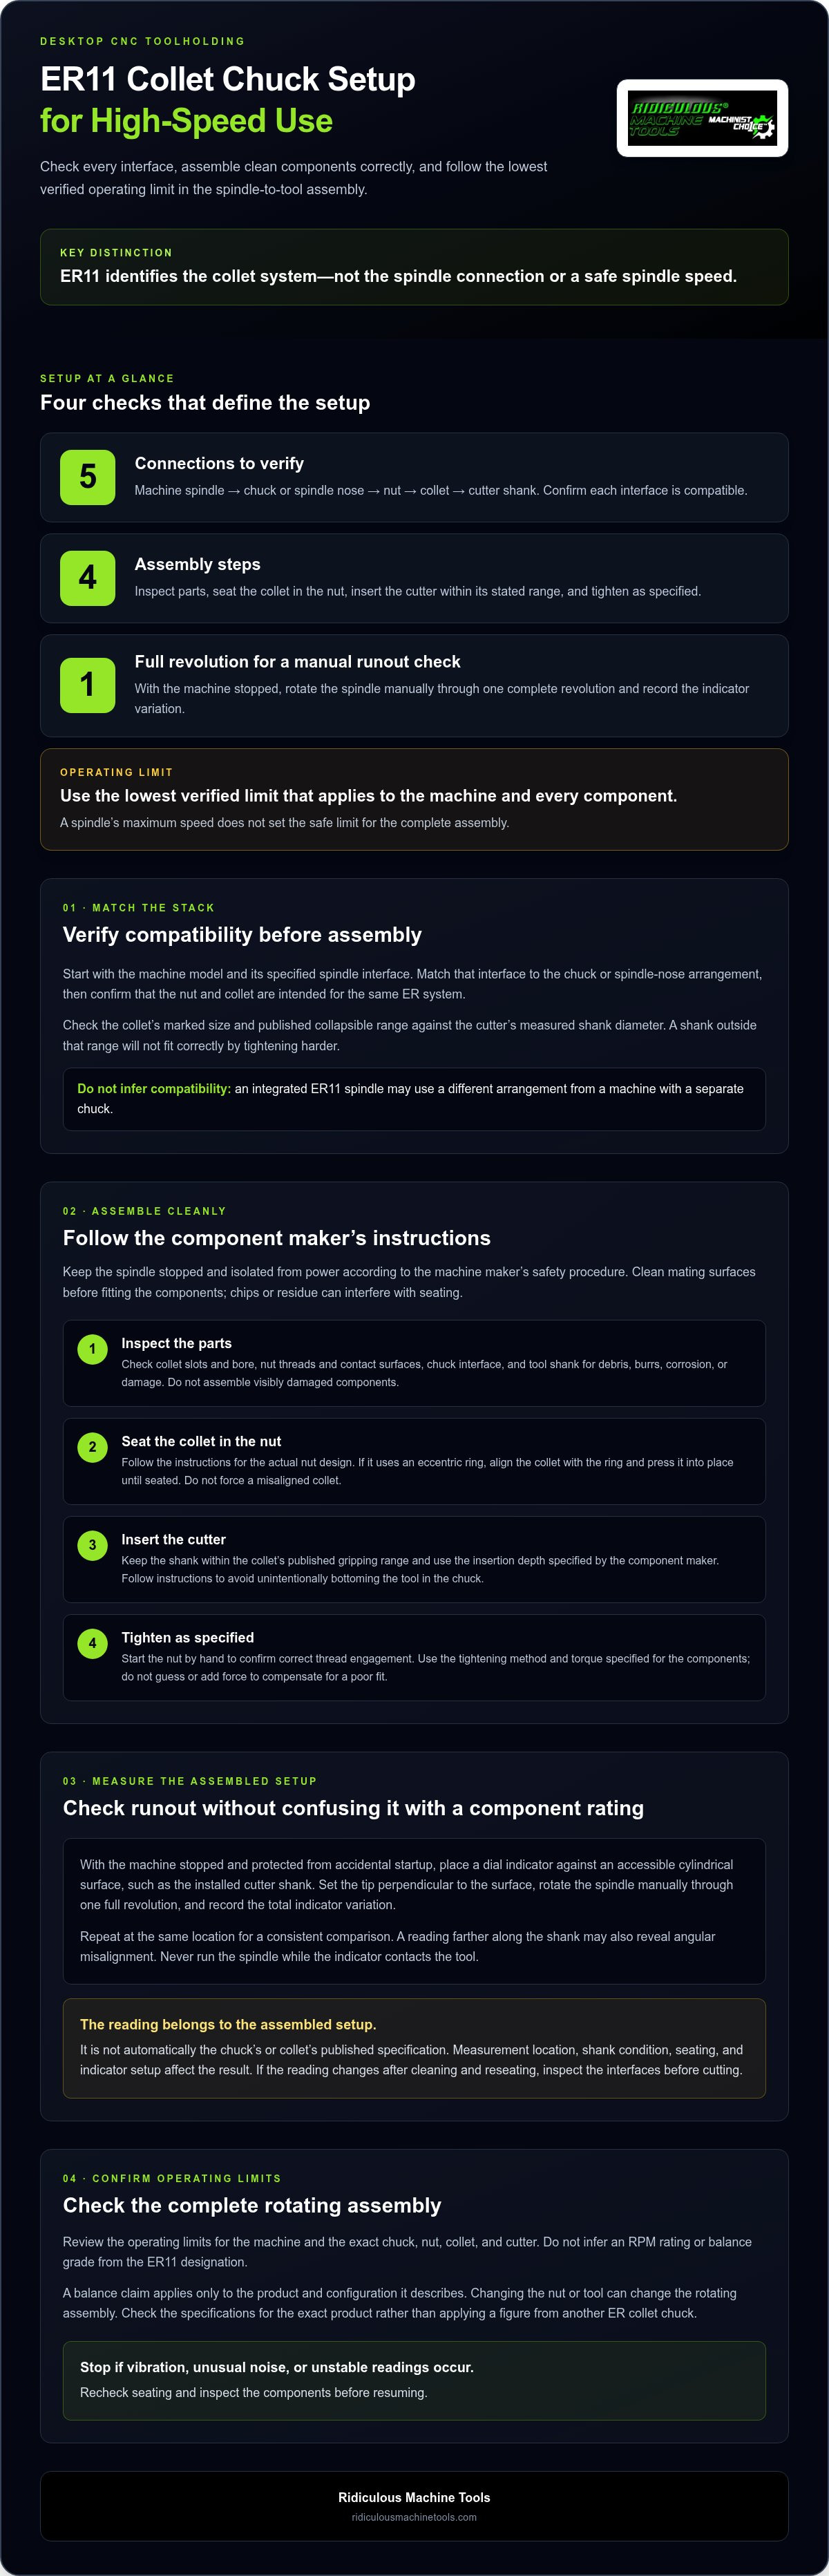
- Identify the spindle connection, chuck, nut, collet, and cutter shank before assembly. ER11 does not define the spindle interface or the assembly’s safe speed.
- Inspect mating surfaces, seat the collet in the nut as instructed, and use the tightening method specified for the components.
- Measure runout consistently at the tool shank and treat the result as a reading for that assembled setup, not automatically as a component specification.
- Before cutting, check interface compatibility, collet size and gripping range, component condition, and published operating limits.
ER11 Collet Chuck Setup: Understand the Complete Desktop CNC Toolholding Stack
An ER11 setup consists of matched connections between the machine spindle, chuck or spindle nose, nut, collet, and cutter shank. The collet grips a cylindrical shank within its specified range, but the ER11 designation does not identify the machine’s spindle connection or establish an operating-speed rating.
Trace the assembly from the spindle outward. Confirm that the chuck or nut arrangement matches the spindle, that the nut is intended for the ER11 collet, and that the collet’s size and gripping range suit the cutter shank. An integrated ER11 spindle may use a different arrangement from a machine fitted with a separate chuck. The general function and types of a collet help explain why each connection must be checked.
Which components must match in an ER11 assembly?
Start with the spindle model and its specified interface. Compare that connection with the chuck or spindle-nose arrangement, then verify that the nut and collet are designed for the same ER system. Check the collet’s marked size and published collapsible range against the cutter’s measured shank diameter. Tightening harder cannot make a shank outside that range fit correctly.
Ridiculous Machine Tools offers ER collet chucks. Check the product’s listed series and interface against your machine before selecting a chuck; ER11 compatibility should not be inferred from the general category name.
What does high-speed desktop CNC change?
At higher spindle speeds, contamination, poor seating, imbalance, and damaged contact surfaces can contribute to vibration or runout. Before assembly, clean the spindle nose or taper, chuck, nut, collet slots, and tool shank. Inspect them for chips, burrs, corrosion, and visible damage. Seat the collet correctly and insert the cutter as directed by the component makers.
The operating limit depends on the specific machine and assembled components. A spindle’s maximum speed does not establish a safe limit for every chuck, nut, collet, or cutter, and there is no single RPM threshold for all ER11 desktop CNC setups.
How to Assemble an ER11 Collet Chuck Without Introducing Setup Errors
Assemble the tooling with the spindle stopped and isolated from power according to the machine maker’s safety procedure. Keep the collet, nut, chuck, and cutter clean during handling. Chips or residue on contact surfaces can prevent proper seating and affect how the tool runs.
- Inspect the parts. Check the collet slots and bore, nut threads and contact surfaces, chuck interface, and tool shank for debris, burrs, corrosion, or damage. Do not assemble visibly damaged components.
- Seat the collet in the nut. Follow the instructions for the actual nut design. Many ER nuts engage the collet at an eccentric ring: align the collet with the ring and press it into place until seated. Do not force a misaligned collet.
- Insert the cutter. Keep the shank within the collet’s published gripping range and provide the engagement specified by the component maker. Avoid unintentionally bottoming the tool in the chuck; follow the chuck and cutter instructions for insertion depth.
- Tighten as specified. Thread the nut onto the chuck by hand first to confirm it engages correctly. Then use the manufacturer’s specified tightening method and torque. Do not guess at a torque value or use extra force to compensate for a poor fit.
What should you inspect before spindle installation?
Confirm that the collet is seated in the nut, the nut threads turn without binding, and the cutter shank fits the collet’s stated range. Check insertion depth and make sure the components are clean and undamaged. Use the tightening method specified for the actual nut and chuck. This sequence helps catch assembly problems before installing the toolholder in the spindle.
Keep toolholding setup separate from other sources of machining error. For example, NIST’s work on CNC Machining Accuracy addresses thermal effects in CNC machining, which are distinct from collet seating. Ridiculous Machine Tools offers ER collet chucks; compare the specifications for the exact product with your machine and intended setup.
High-Speed ER11 Setup: Check Runout, Balance, and RPM Limits
ER11 identifies the collet system, not a safe spindle speed. For an er11 collet chuck setup for high speed desktop cnc application, use the lowest verified operating limit that applies to the spindle, chuck, nut, collet, cutter, and machine configuration. A rating for one component does not establish the limit of the assembled system.
How do you check runout in a desktop CNC setup?
With the machine stopped and protected from accidental startup, place a dial indicator against an accessible cylindrical surface, such as the installed cutter shank. Position the indicator tip perpendicular to the surface, rotate the spindle manually through one full revolution, and record the total indicator variation. Repeat the measurement at the same location for a consistent comparison. A reading farther along the shank may also reveal angular misalignment. Do not run the spindle while an indicator is in contact with the tool.
The result is the measured T.I.R. for that setup, not automatically the chuck’s or collet’s published specification. The measurement location, shank condition, seating, and indicator setup all affect the reading. Dirt, burrs, damaged contact surfaces, or a collet that is not seated correctly can contribute to excess runout. If the reading changes after cleaning and reseating, inspect those interfaces before cutting.
Which RPM and balance specifications govern?
Review the machine’s operating limits alongside documentation for the exact chuck, nut, collet, and cutter. Do not infer an RPM rating or balance grade from the ER11 designation. A balance claim applies only to the product and configuration it describes; changing the nut or tool can change the rotating assembly. Check the applicable RMT product page for the specific model’s published specifications rather than applying a figure from another ER collet chuck.
Use the lowest verified RPM limit that applies to any component or the machine configuration. Stop if vibration, unusual noise, or unstable readings occur. Recheck seating and inspect the components before resuming.
Compare ER collet chuck specifications
Choose Compatible ER11 Components and Validate the Finished Setup
Before buying or installing components, verify each connection in sequence. ER11 describes the collet system, but does not confirm that a chuck or collet fits a particular spindle. For an er11 collet chuck setup for high speed desktop cnc, compare the machine and component specifications rather than treating similar labels as proof of compatibility.
How can you confirm compatibility before ordering?
Compare the machine’s spindle connection with the chuck’s mounting interface. Confirm that the chuck, nut, and collet are intended for the same ER system, then match the collet’s marked size and published collapsible range to the cutter’s measured shank diameter. Review each component’s condition and documented operating limits as well.
- Spindle interface: Confirm that the chuck or nut arrangement matches the machine spindle.
- ER system: Match the collet series to the chuck and nut.
- Collet and shank: Compare the marked collet size and specified gripping range with the cutter shank.
- Condition and limits: Inspect contact surfaces and review the RPM, balance, and runout specifications that apply to each component.
Similar names do not mean that components are interchangeable. Ridiculous Machine Tools offers an ER collet chuck category and ER spring collets. Compare the specifications for the exact parts you are considering rather than assuming that a product is ER11-compatible.
When does broader toolholding guidance help?
A different toolholder type may suit the setup better if the cutter shank, machine interface, or operation does not match the ER arrangement. For example, an end mill with a Weldon flat may suit an end mill holder intended for that shank feature, provided the holder matches the machine. Choose tooling by interface, cutter geometry, and documented application rather than assuming one holder type will perform better.
Proceed when the interfaces, shank fit, component condition, and applicable specifications all align. Compare the published details for the relevant RMT tooling against your machine and intended operation.
Make Your Next Setup a Verified One
A concise setup record can make repeat jobs easier to assess. Note the tool number, program revision, work material, and observed cut result. When a tool is replaced or a process is repeated, those details provide a reference for separating a change in machining conditions from a change in tooling. Treat the record as a baseline for that setup, not as a universal recipe.
Apply the same method to an er11 collet chuck setup for high speed desktop cnc. RMT offers ER collet chucks and ER spring collets, with specifications that vary by product family, size, and configuration. Compare the details for the specific product with the intended machine and application before choosing tooling.
Compare RMT ER collet chucks and their specifications
Frequently Asked Questions
Can any ER11 collet fit any ER11 spindle?
No. ER11 identifies a collet system; it does not specify the spindle’s mounting interface. Record the spindle model and specified connection, then compare them with the chuck’s product description or drawing. Do not assume a fit based on a similar-looking spindle nose or the ER11 label alone. Keep the machine and component details together for future replacement orders.
How tight should I make an ER11 collet nut?
Follow the tightening procedure for the specific nut and toolholder. If the instructions specify torque, use an appropriate torque wrench and apply force as directed rather than judging tightness by feel. Check whether the manufacturer specifies a lubricated or dry assembly, because lubrication affects the relationship between applied torque and clamping force.
Can I run an ER11 desktop CNC spindle continuously at its maximum RPM?
Only if the machine documentation supports that duty cycle for the intended operation. A stated maximum speed does not necessarily describe continuous operation under every load or cooling condition. Review the spindle’s operating guidance for duty limits and temperature monitoring. If continuous operation at that speed is not documented, use an operating condition that is.
What causes runout after installing an ER11 collet?
A runout reading at the tool shank does not identify the responsible component by itself. Check for debris, damaged surfaces, incorrect collet seating, or a shank that does not match the collet’s stated range. Record the indicator setup, contact location, and tool overhang so you can compare readings under the same conditions. Tool deflection and cutter geometry can affect the cut without changing a shank runout reading.
Article by
Ridiculous Machine Tools Technical Team
The Ridiculous Machine Tools Technical Team provides practical information about precision machine tooling, CNC tooling, workholding, and related manufacturing applications. RMT focuses on helping machinists, manufacturers, fabricators, and other customers understand tooling specifications, compatibility, selection, and proper application. Our technical content draws on product specifications, industry knowledge, and RMT's quality-control experience to provide clear, useful information for selecting and using machine tooling and workholding products.
Ridiculous Machine Tools — Machinist's Choice™